Water Softener Cleaning Guide For Springtime
Posted by Discount Water Softeners on May 1st 2023
SPRING CLEANING FOR YOUR WATER SOFTENER
Water Softener Maintenance
Spring cleaning season has begun. The ritualized behavior of deep-cleaning a home before the warm weather months shouldn’t be limited to going through closets and decluttering your space. It’s a great time to reset, identify problems, and inspect your appliances—especially those that keep your water at its best.
For many homes, a water softener is a vital system that protects appliances and plumbing from hard water’s abrasive minerals. Water softeners consist of two tanks-- the main tank and the brine tank. In the main tank, there are tiny resin beads that act as a magnet for calcium and magnesium. The hard water filters through the main tank, resulting in soft water that is pumped out of your home’s plumbing.
Hard water contains high levels of calcium and magnesium minerals which cause lime scale buildup and interfere with soap’s ability to clean. Over time, mineral buildup can occur in the resin tank of a water softener, reducing its efficiency and longevity.
Ion exchange water softeners generally last for 10-20 years with little maintenance, but regular inspections and cleaning lengthens their lifespan. Spring is an excellent time to perform maintenance on a water softener. If your goal is to continue to enjoy high efficiency softening after a decade’s time, there are some things you can do to keep your system running at peak performance.
Water Softener Maintenance
The Brine Tank
When you’re ready to get started with your water softener spring cleaning, shut off your water by turning the softener’s bypass valve. This diverts water away from the system and makes it safe for you to access the brine tank while not in operation. You’ll still be able to use unsoftened water in your home if you need it.
Remove the salt and any remaining water from your softener’s brine tank. Once you empty the tank, use a mixture of water and mild soap, or a solution of one-part white vinegar to three parts water, to scrub and remove any buildup or residue. Rinse well before refilling with salt.
Most brine tanks need to be cleaned every 6-12 months. If you use low-purity salt, such as rock salt, you may need more frequent cleaning to remove sediment and dirt. Purity refers to the percentage of material other than salt that is present in the product. The purer the salt, the less insoluble material such as rocks and earth it contains. High-purity salt, like evaporated salt pellets, is less likely to leave behind residue or clog the softener unit, resulting in longer-lasting and more effective water softening.
A salt bridge in a water softener is a layer of salt that forms a solid crust or layer on top of the water in the brine tank. As the salt builds up on top of the water, it creates a gap between the salt and the water below it, which will prevent the salt from dissolving properly, disrupting the ion exchange process. This can occur when the humidity in the air causes the salt to clump together, or when low-quality or impure salt is used in the system.
When salt bridges form in the brine tank, the water softener may not regenerate properly, resulting in hard water and reduced efficiency. Additionally, the salt bridge can cause the water softener to use more salt than necessary, leading to higher operating costs. If you notice a salt bridge in your brine tank, it can be broken up by gently tapping with a broom handle or other long object.
To prevent salt bridges from forming, it’s important to use high-quality salt specifically designed for water softeners and to keep the brine tank clean and free from debris.
The Resin Tank
Once the resin beads inside your main tank exchange ions with hard water, they take on minerals. Before a new wave of hard water can enter the system, these beads must be regenerated by swapping calcium and magnesium ions for sodium in order to repeat the softening process with the next batch of water.
Although resin beads are regularly regenerated, they can benefit from an occasional extra cleaning. Resin beads gradually lose their effectiveness — over time, the flow of water can begin to erode them, or deposits of minerals and organic compounds can make the beads ineffective.
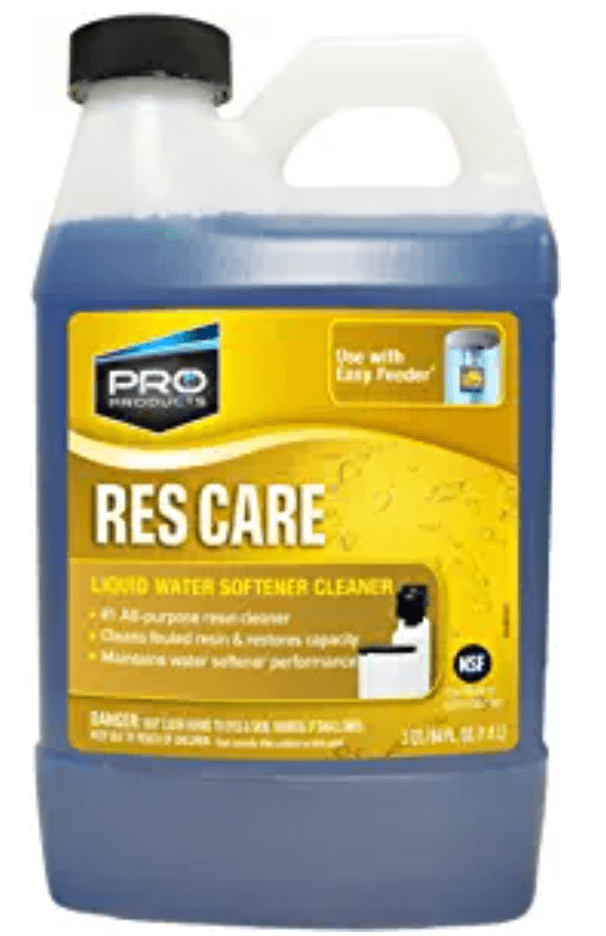
To maximize the lifespan of your resin beads and keep your water softener in the best condition, consider using a resin cleaner to recharge the beads. Be sure to follow the manufacturer's instructions for the specific cleaner you are using, then run a manual regeneration cycle to flush out the cleaner along with any impurities. If you have very hard water or water with a high iron or manganese content, you should aim to clean out the resin bed at least once a year to prevent fouling.
Typically, the resin beads within a water softener will last as long as the system. Occasionally, they will break or stop working at full efficiency prematurely. There are a few signs of ineffective resin beads. The first indication is when you notice your water softener requires frequent recharging. Another is if you see floating particles in your softened water. While these particles may be debris and indicate a different problem, they may also signify a breakdown of resin beads. If your resin beads are not functioning correctly, they may either need a simple cleaning or a full replacement.
The Venturi Valve
The Venturi valve in a water softener regulates the flow of saltwater from the brine tank to the resin tank (where the actual softening takes place). It creates a suction force that pulls salt water from one tank to another. To prevent sediment and dirt from entering the resin tank, this valve is guarded by a mesh net. However, with time, the net can clog due to sediment, dirt or other particles. If the valve isn’t working correctly, the resin tank will never recharge, and you’ll be left with hard water.
When performing your water softener’s spring maintenance, inspecting the venturi valve for buildup or clogs is an important step. To access the nozzle and venturi valve, first remove the top cover of your softener. Be sure that your unit is in normal operating cycle (no water pressure at nozzle and Venturi). Then, unscrew the cap from the nozzle and venturi housing, being careful not to lose the O-ring seal. Carefully lift and remove the screen and screen support, then the nozzle and valve.
Wash all parts in warm, soapy water. If necessary, use a small brush to remove any sediment or debris. When reassembling the nozzle and Venturi, make sure to reinstall in the exact order in which they were removed. Hand-tighten the cap, but do not over-tighten as too much pressure may break the cap or the housing. In most cases, a Venturi valve should only need cleaning once or twice a year to keep it clear of debris.
High-Quality, Softened Water
Just like any piece of equipment, a water softener’s components will wear out over time. But by including your water softener in your spring cleaning to-do list, you help to maintain its longevity. Proper inspection and cleaning of a water softener is essential for high-quality, softened water throughout your home. By periodically giving your softening system a check-up, you’ll keep it running smoothly for years.